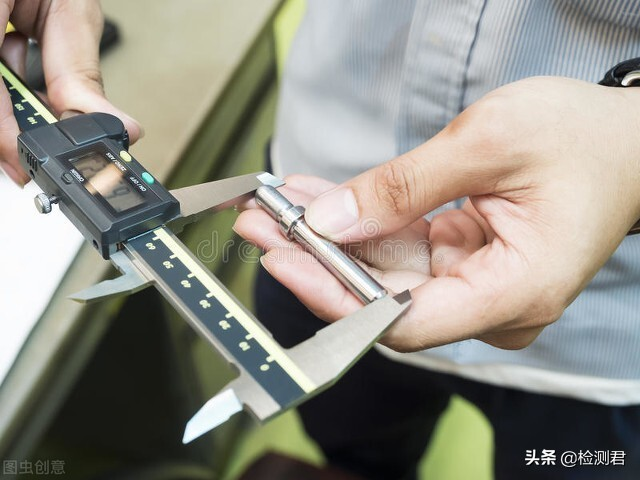
The appearance quality of a product is an important aspect of sensory quality. Appearance quality generally refers to the quality factors of product shape, color tone, gloss, pattern, etc. which are visually observed. Obviously, all defects such as bumps, abrasions, indentations, scratches, rust, mildew, bubbles, pinholes, pits, surface cracks, layering, and wrinkles will affect the appearance quality of the product. In addition, many cosmetic product quality factors also directly affect product performance, life and other aspects. For example, products with a smooth surface have strong anti-rust ability, small friction coefficient, good wear resistance and low energy consumption. The evaluation of product appearance quality has a certain subjectivity. In order to make an objective judgment as much as possible, the following inspection methods are often used in the quality inspection of industrial products.
(1) Standard sample group method. The qualified and unqualified samples are respectively selected as standard samples in advance, wherein the unqualified samples are various defects with different severity. Standard samples can be repeatedly observed by many inspectors (evaluators), and the observations can be counted. After analyzing the statistical results, it is possible to know which defect categories are inappropriately specified; which inspectors do not have a deep understanding of the standard; which inspectors lack the required training and discrimination capabilities. (2) Photo observation method. Through photography, the qualified appearance and the allowable defect limit are shown with photos, and typical photos of various unallowable defects can also be used as a comparative test. (3) Defect magnification method. Use a magnifying glass or a projector to magnify the surface of the product and look for defects on the observed surface in order to more accurately judge the nature and severity of the defects. (4) Vanishing distance method. Go to the product use site, inspect the use conditions of the product, and observe the use status of the product. Then simulate the actual use conditions of the product, and specify the corresponding time, observation distance and angle as the observation conditions during inspection. It is judged as a qualified product, otherwise it is a non-qualified product. This method is much more convenient and applicable than formulating standards and inspecting item by item according to various types of appearance defects and various severities.
Example: Appearance quality inspection of galvanized layer of parts.
① Appearance quality requirements. The appearance quality of the galvanized layer includes four aspects: color, uniformity, allowable defects and allowable defects. color. For example, the galvanized layer should be light gray with a slight beige; the galvanized layer should be silver-white with a certain luster and light blue after light emission; after the phosphate treatment, the galvanized layer should be light gray to silver gray. uniformity. The galvanized layer is required to have a fine-grained, uniform and continuous surface. Defects are allowed. Such as: slight water marks; slight fixture marks on very important surfaces of parts; small differences in color and gloss on the same part, etc. Defects are not allowed. Such as: coating blistering, peeling, scorching, nodules and pitting; dendritic, spongy and streaky coatings; unwashed salt traces, etc.
②Sampling for appearance inspection.
For important parts, key parts, large parts and ordinary parts with a batch size of less than 90 pieces, the appearance should be inspected 100%, and unqualified products should be excluded; for ordinary parts with a batch size of more than 90 pieces, sampling inspection should be taken, generally taking inspection level II, qualified The quality level is 1.5%, and the inspection is carried out according to the one-time sampling plan for normal inspection specified in Table 2-12. When a substandard batch is found, it is allowed to inspect the batch 100%, reject the substandard product, and resubmit it for inspection.
③ Appearance inspection method and quality evaluation.
The visual inspection is mainly based on the visual method. If necessary, it can be inspected with a magnifying glass of 3 to 5 times. During inspection, use natural scattered light or white transmitted light without reflected light, the illuminance is not less than 300 lux, and the distance between the part and the human eye is 250 mm. If the batch is 100, the sample size that can be taken is 32 pieces; through the visual inspection of these 32 pieces, it is found that two of them have blistered coatings and scorch marks. Since the number of unqualified products is 2, it is judged that the batch of parts is not qualified.
Post time: Aug-19-2022


