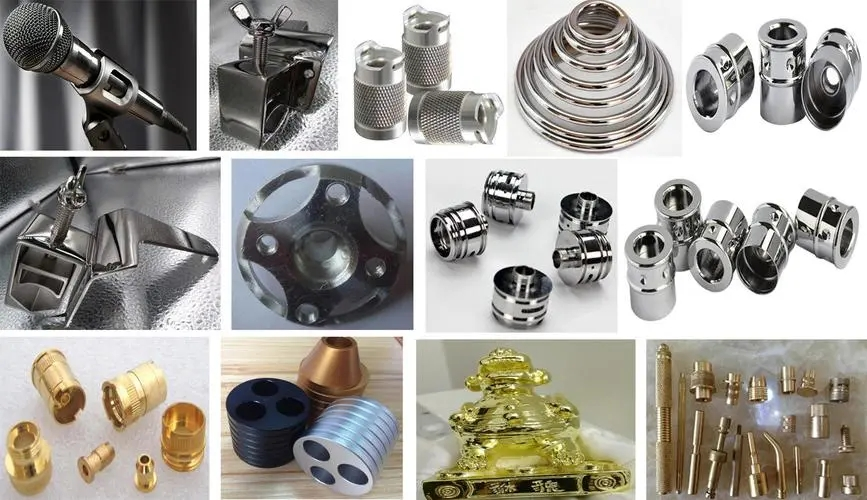
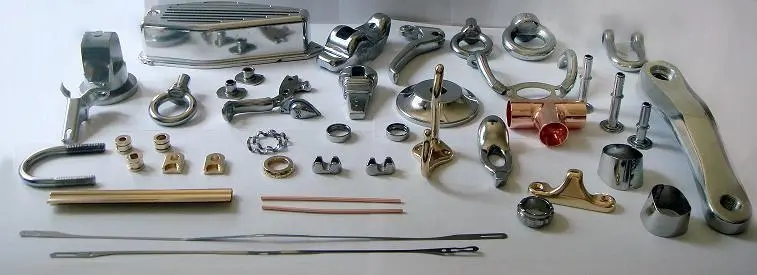
The inspection of electroplated terminal products is an indispensable task after the electroplating is completed. Only the electroplated products that pass the inspection can be handed over to the next process for use.

Usually, the inspection items for electroplated products are: film thickness, adhesion, solder ability, appearance, packaging, and salt spray test. For products with special requirements in drawings, there are porosity tests (30U”) for gold using the nitric acid vapor method, palladium-plated nickel products (using the gel electrolysis method) or other environmental tests.
1. Electroplating product inspection-film thickness inspection
1.Film thickness is a basic item for electroplating inspection. The basic tool used is a fluorescent film thickness meter (X-RAY). The principle is to use X-rays to irradiate the coating, collect the energy spectrum returned by the coating, and identify the thickness and composition of the coating.
2. Precautions when using X-RAY:
1) Spectrum calibration is required every time you turn on the computer
2) Do crosshair calibration every month
3) Gold-nickel calibration should be done at least once a week
4) When measuring, the test file should be selected according to the steel used in the product.
5) For new products that do not have a test file, a test file should be created.
3. The significance of test files:
Example: Au-Ni-Cu(100-221 sn 4%@0.2 cfp
Au-Ni-Cu——Test the thickness of nickel plating and then gold plating on copper substrate.
(100-221 sn 4%——-AMP copper material number copper containing 4% tin)

2. Electroplating product inspection-adhesion inspection
Adhesion inspection is a necessary inspection item for electroplating products. Poor adhesion is the most common defect in electroplating product inspection. There are usually two inspection methods:
1.Bending method: First, use a copper sheet with the same thickness as the required detection terminal to pad the area to be bent, use flat-nose pliers to bend the sample to 180 degrees, and use a microscope to observe whether there is peeling or peeling of the coating on the bent surface.
2.Tape method: Use 3M tape to stick firmly to the surface of the sample to be tested, vertically at 90 degrees, quickly tear off the tape, and observe the metal film peeling off on the tape. If you cannot observe clearly with your eyes, you can use a 10x microscope to observe.
3. Result determination:
a) There should be no falling of metal powder or sticking of patching tape.
b) There should be no peeling off of the metal coating.
c) As long as the base material is not broken, there should be no serious cracking or peeling after bending.
d) There should be no bubbling.
e) There should be no exposure of the underlying metal without the base material being broken.
4. When adhesion is poor, you should learn to distinguish the location of the peeled layer. You can use a microscope and X-RAY to test the thickness of the peeled coating to determine the work station with the problem.
3. Electroplating product inspection-solderability inspection
1.Solderability is the basic function and purpose of tin-lead and tin plating. If there are post-soldering process requirements, poor welding is a serious defect.
2.Basic methods of solder testing:
1) Direct immersion tin method: According to the drawings, directly immerse the solder part in the required flux and immerse it in a 235-degree tin furnace. After 5 seconds, it should be slowly taken out at a speed of about 25MM/S. After taking it out, cool it to normal temperature and use a 10x microscope to observe and judge: the tinned area should be greater than 95%, the tinned area should be smooth and clean, and there are no solder rejection, desoldering, pinholes and other phenomena, which means it is qualified.
2)Aging first and then welding. For products with special requirements on some force surfaces, the samples should be aged for 8 or 16 hours using a steam aging testing machine before the welding test to determine the performance of the product in harsh usage environments. Welding performance.

4. Electroplating product inspection-appearance inspection
1.Appearance inspection is the basic inspection item of electroplating inspection. From the appearance, we can see the suitability of the electroplating process conditions and possible changes in the electroplating solution. Different customers have different requirements for appearance. All electroplated terminals should be observed with a microscope at least 10 times greater. For defects that have occurred, the greater the magnification, the more helpful it is to analyze the cause of the problem.
2.Inspection steps:
1). Take the sample and place it under a 10x microscope, and illuminate it vertically with a standard white light source:
2). Observe the surface condition of the product through the eyepiece.
3. Judgment method:
1). The color should be uniform, without any dark or light color, or with different colors (such as blackening, redness, or yellowing). There should be no serious color difference in gold plating.
2). Do not allow any foreign matter (hair flakes, dust, oil, crystals) to stick to it
3). It must be dry and must not be stained with moisture.
4). Good smoothness, no holes or particles.
5). There should be no pressure, scratches, scratches and other deformation phenomena as well as damage to the plated parts.
6). The lower layer must not be exposed. As for the appearance of tin-lead, a few (not more than 5%) pits and pits are allowed as long as it does not affect the solderability.
7). The coating must not have blistering, peeling or other poor adhesion.
8). The electroplating position shall be carried out in accordance with the drawings. The QE engineer may decide to relax the standard appropriately without affecting the function.
9). For suspicious appearance defects, the QE engineer should set the limit sample and appearance auxiliary standards.
5. Electroplating product inspection-packaging inspection
The electroplating product packaging inspection requires that the packaging direction is correct, the packaging trays and boxes are clean and tidy, and there is no damage: the labels are completed and correct, and the number of internal and external labels is consistent.
6.Electroplating product inspection-salt spray test
After passing the salt spray test, the surface of unqualified electroplated parts will turn black and develop red rust. Of course, different types of electroplating will produce different results.
The salt spray test of electroplating products is divided into two categories: one is the natural environment exposure test; the other is the artificial accelerated simulated salt spray environment test. The artificial simulated salt spray environment test is to use a test equipment with a certain volume space - a salt spray test chamber, to use artificial methods in its volume space to create a salt spray environment to assess the salt spray corrosion resistance performance and quality of the product. .
Artificial simulated salt spray tests include:
1)Neutral salt spray test (NSS test) is the earliest accelerated corrosion test method with the widest application field. It uses 5% sodium chloride salt solution, and the pH value of the solution is adjusted to a neutral range (6 to 7) as a spray solution. The test temperature is all 35℃, and the sedimentation rate of salt spray is required to be between 1~2ml/80cm?.h.
2) The acetate salt spray test (ASS test) is developed on the basis of the neutral salt spray test. It adds some glacial acetic acid to a 5% sodium chloride solution to reduce the pH value of the solution to about 3, making the solution acidic, and the resulting salt spray also changes from neutral salt spray to acidic. Its corrosion rate is about 3 times faster than the NSS test.
3)The copper salt accelerated acetate salt spray test (CASS test) is a rapid salt spray corrosion test recently developed abroad. The test temperature is 50°C. A small amount of copper salt-copper chloride is added to the salt solution to strongly induce corrosion. Its corrosion rate is approximately 8 times that of the NSS test.
The above are the inspection standards and inspection methods for electroplated products, including electroplated product film thickness inspection, adhesion inspection, weldability inspection, appearance inspection, packaging inspection, salt spray test,
Post time: Jun-05-2024


