Key points for on-site testing and inspection of indoor furniture
1. Size, weight, and color inspection (according to the requirements of the contract and block spec, as well as comparison samples).
2. Static pressure and impact testing (according to the requirements on the test report).
3. For smoothness testing, ensure that all four feet are on the same plane after installation.
4. Assembly testing: After assembly, check the fit of each part and ensure that the gaps are not too large or skewed; There are problems with not being able to assemble or difficult to assemble.
5. Drop test.
6. Test the moisture content of the wooden part.
7. Slope test (product cannot overturn on a 10 ° slope)
8. If there are stripe patterns on the surface, the stripes and patterns on the surface should be uniform, centered, and symmetrical. The same stripes in different parts should be aligned, and the overall appearance should be coordinated.
9. If there are wooden parts with holes, the edges of the holes should be treated and there should be no excessive burrs, otherwise it may harm the operator during installation.
10. Check the surface of the wooden part, especially pay attention to the quality of the paint.
11. If there are copper nails and other accessories on the product, the quantity should be checked and compared with the signature sample. In addition, the position should be even, the spacing should be basically consistent, and the installation should be firm and cannot be easily pulled out.
12. The elasticity of the product should not differ significantly from the sample. If there is a spring, the thickness should be compared with the sample.
13. There is a list of accessories on the assembly manual, which should be compared with the actual ones. The quantity and specifications should be consistent, especially if there are numbers on it, they should be clearly aligned.
14. If there are assembly drawings and steps in the manual, check if the content is correct.
15. Check the edges and corners of the product to ensure that there are no obvious wrinkles or uneven defects, and overall, there should be no significant differences from the signed sample.
16. If there are metal parts on the product, check for sharp points and edges.
17. Check the packaging situation. If each accessory has a separate packaging, it needs to be effectively fixed inside the box.
18. The welding parts should be carefully inspected, and the welding points should be polished without sharp or excess welding slag. The surface should be flat and beautiful.
Site test photos
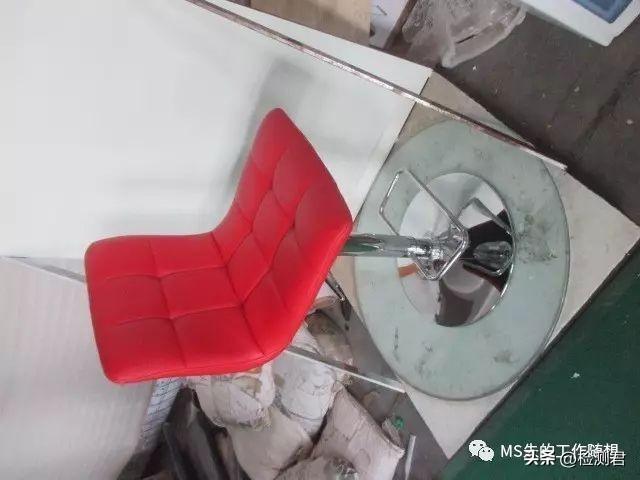
Wobbly Test
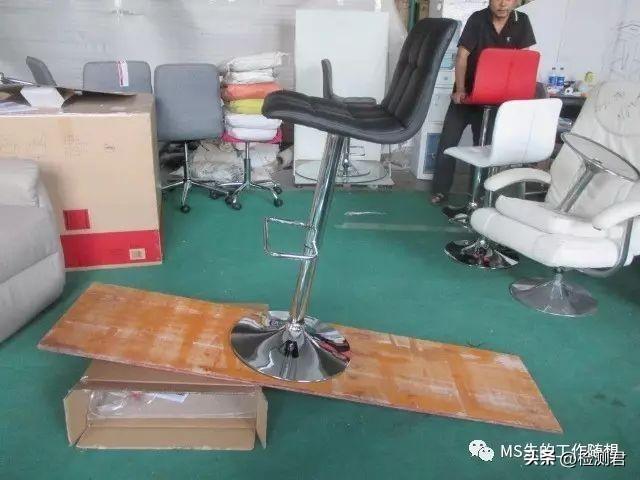
Tilt Test
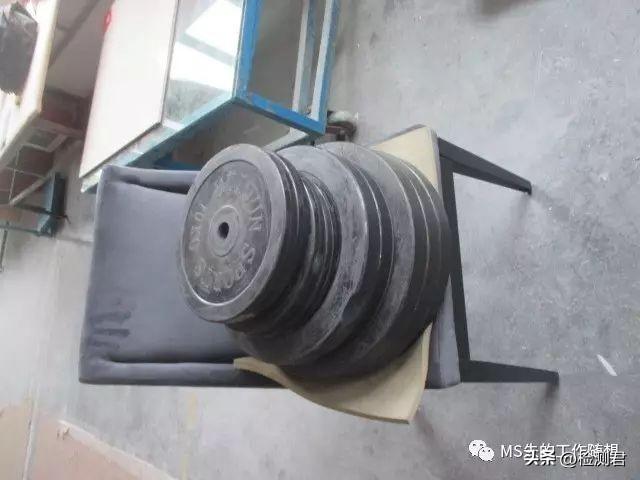
Static Loading Test
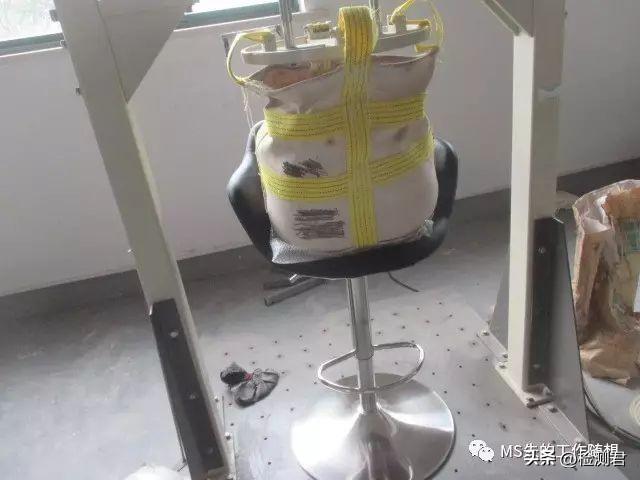
Impact Test
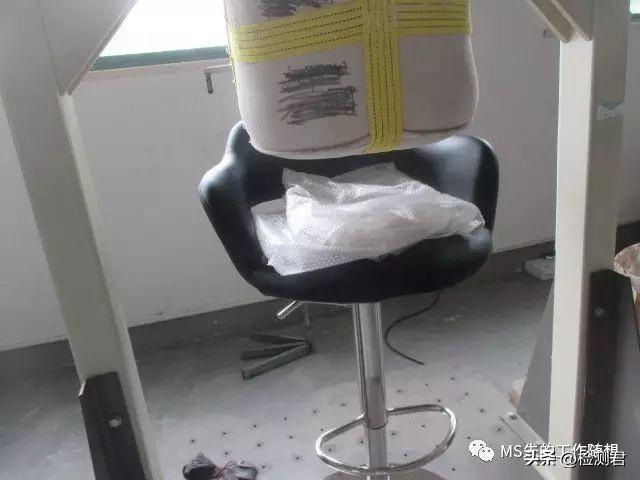
Impact Test
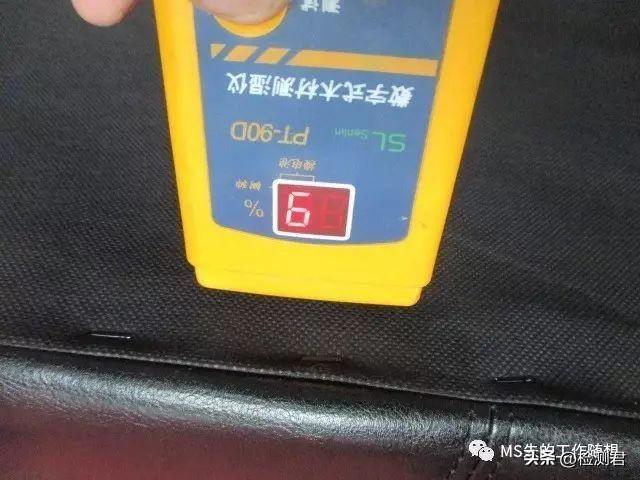
Moisture Content Check
Photos of common defects
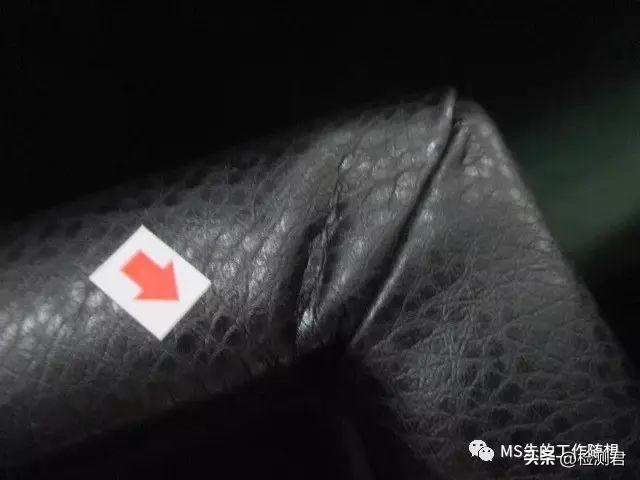
Wrinkle on surface
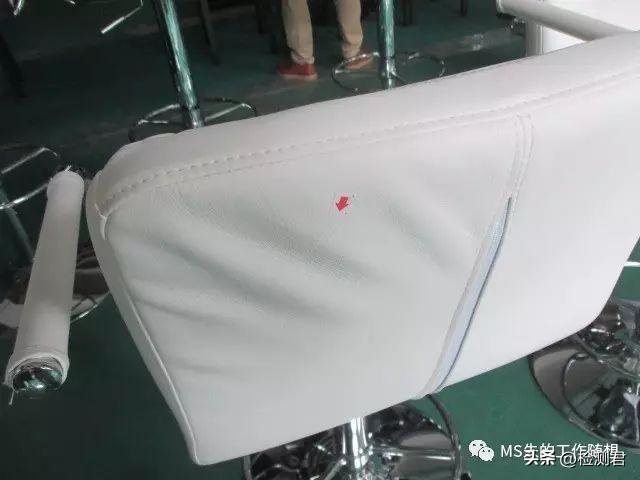
Wrinkle on surface
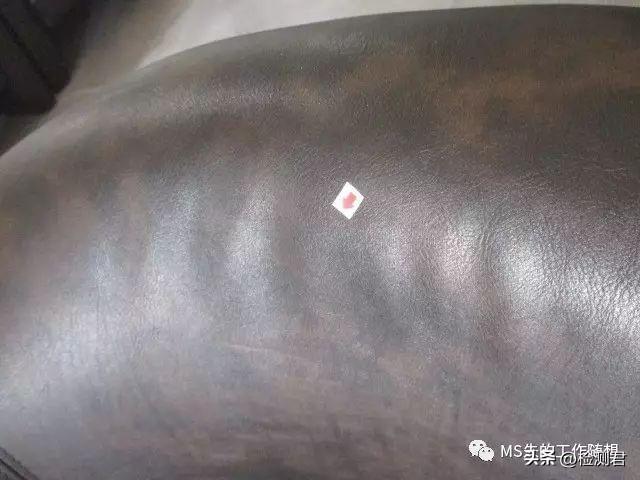
Wrinkle on surface
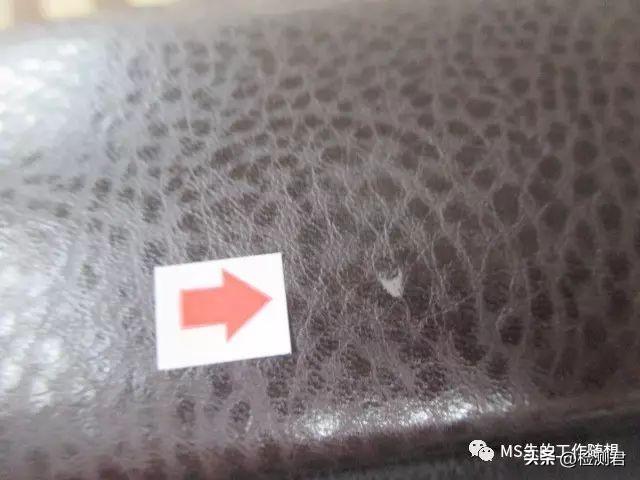
PU damaged
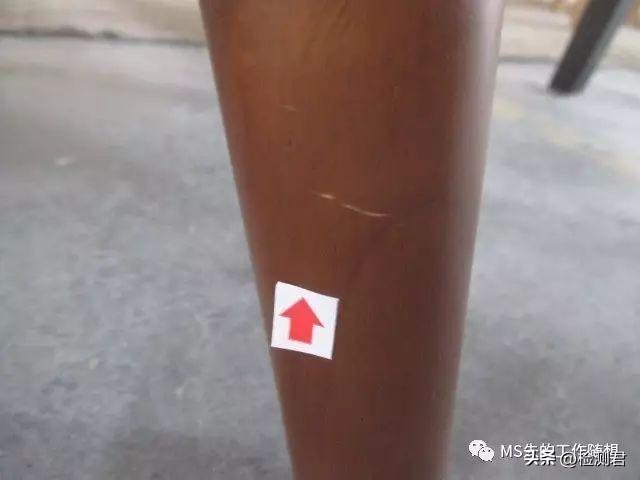
Scratch mark on wooden leg
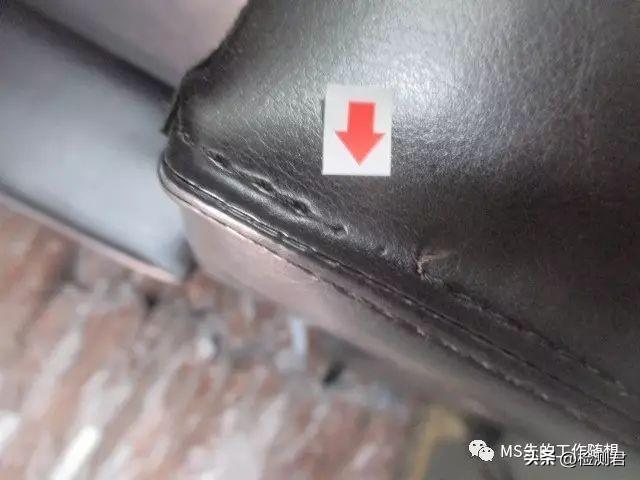
Poor sewing
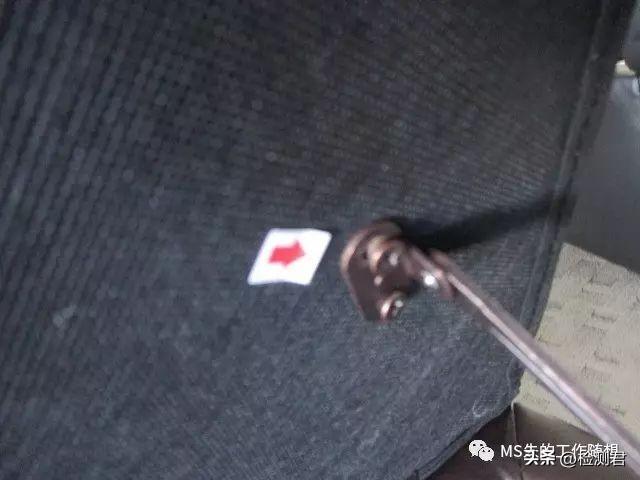
PU damaged
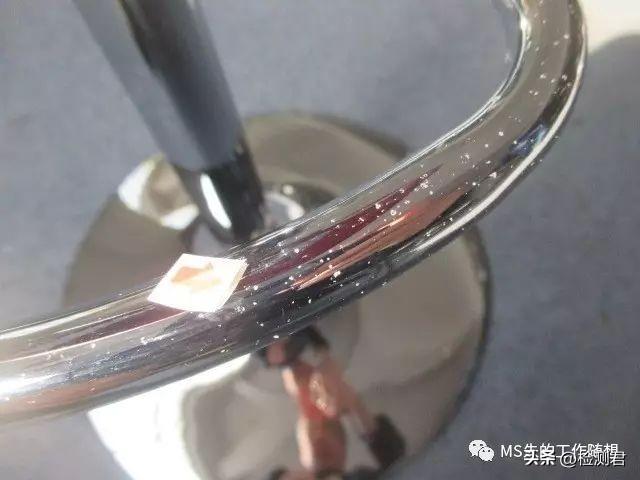
The screw poor fixing
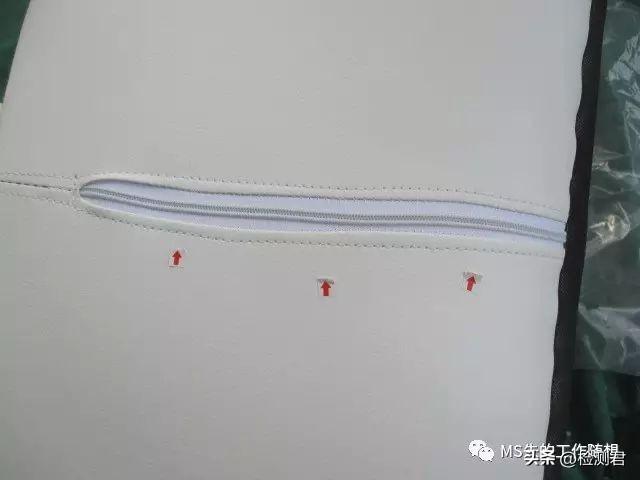
The zipper skew
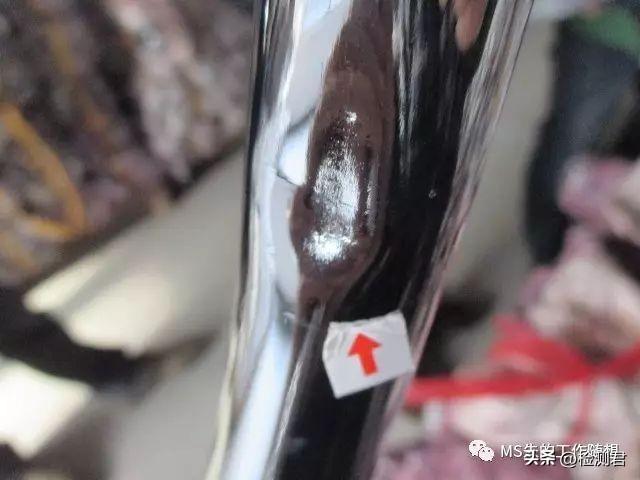
Dent mark on the pole
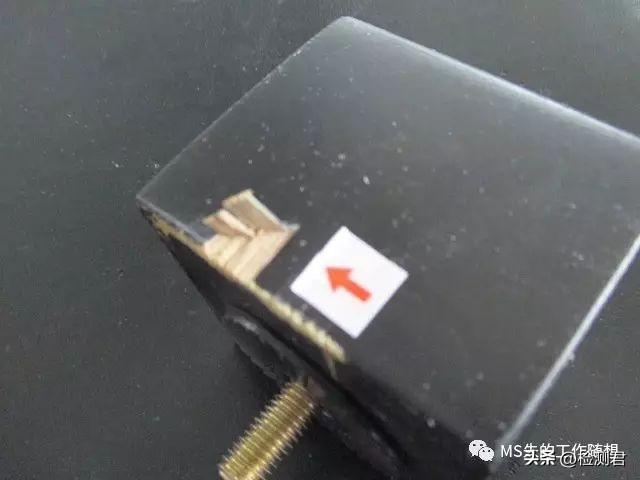
The wooden leg damaged
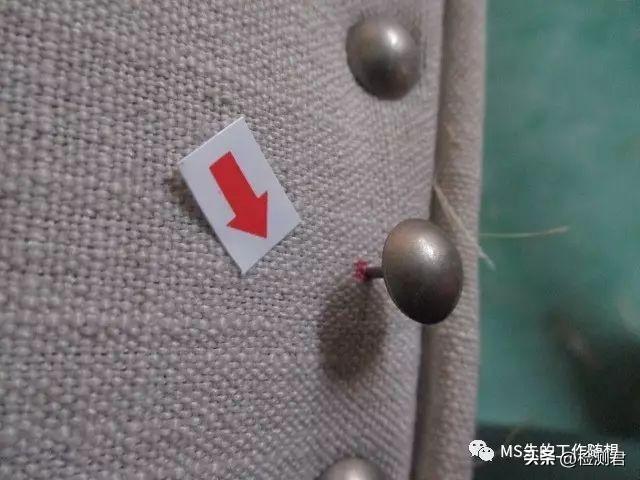
The stapple poor fixing
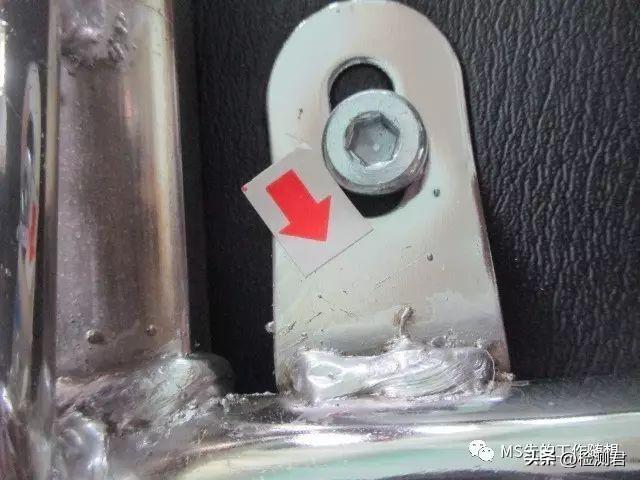
Poor welding, some sharp points on welding area
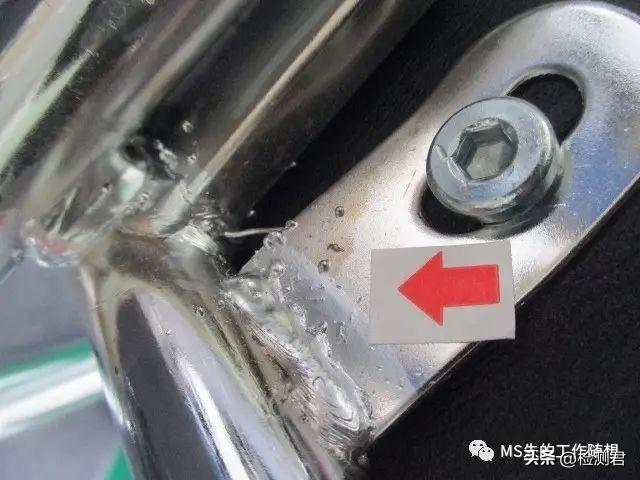
Poor welding, some sharp points on welding area
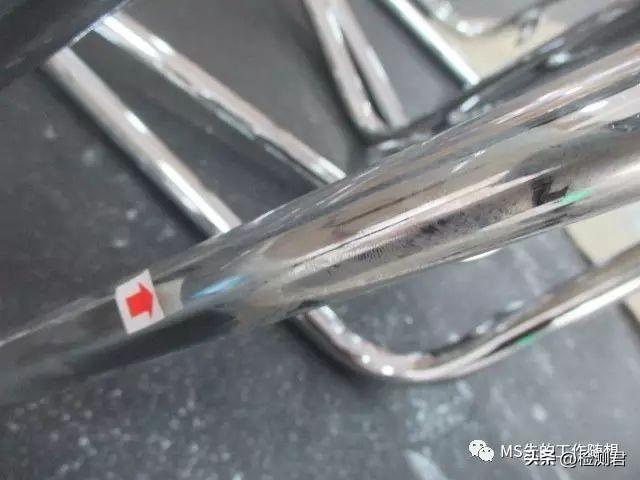
Poor electroplated
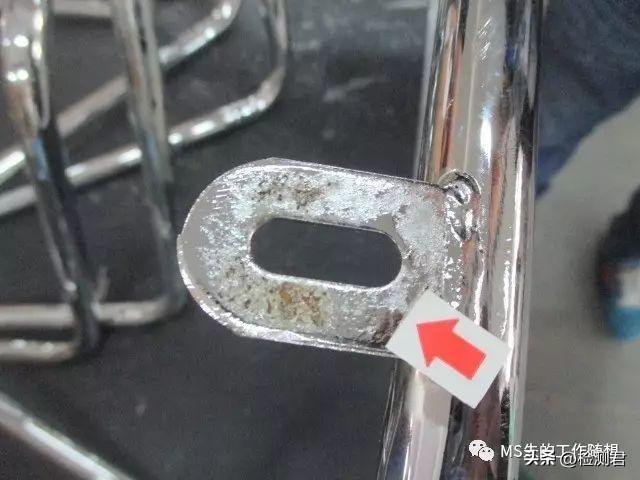
Poor electroplated
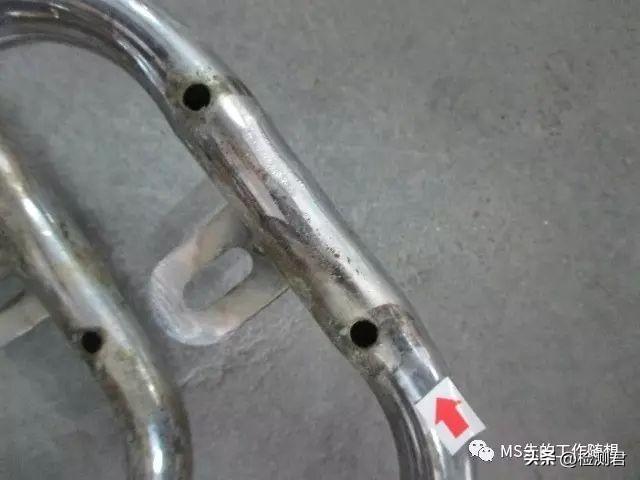
Poor electroplated
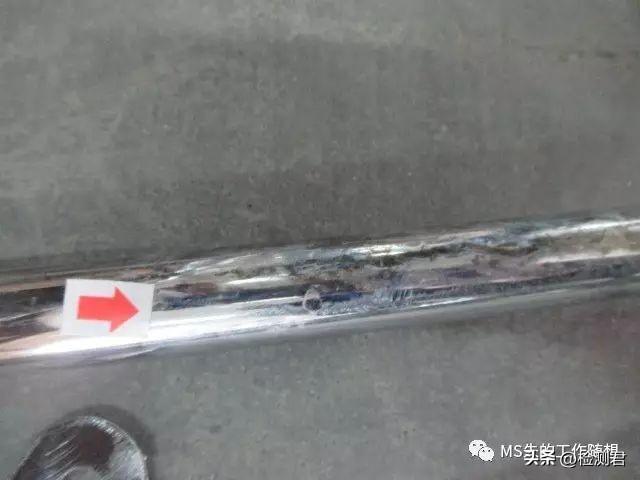
Poor electroplated
Post time: Aug-14-2023


